How engineers at Upstatement design & facilitate workshop activities
You’ve probably seen the aftermath of a design workshop — Sharpies and Post Its everywhere, walls covered in confetti colored paper. If you walk around the Upstatement studio, you’ll see the same scene at the conclusion of technical discovery meetings, too.
All those sticky notes may seem a little silly at first, but these exercises help gather information and spark discussions that get to the heart of a problem. So it’s natural to apply workshop principles to technical research, as well.
At Upstatement, our designers and engineers work side-by-side from the outset of every project. Together, we’ve started to design and define activities that jumpstart the technical discovery process. In this post, we’ll share some of the exercises we’ve developed so you can use them, too!
Technical Discovery Questionnaire
In order to make informed decisions, we try to understand our client’s business as well as they do. To get on the same page, we start with the Technical Discovery Questionnaire, a worksheet that helps us gather basic information about the client, the project, and their aspirations (You can download a template here). These questions are informed by background materials provided by the client before the project starts and their answers inform what we do next (user interviews, additional workshop activities, etc.). Our end goal is to put our client in the same reflective and strategic headspace that we’re in and establish what project success looks like.
This is good for:
- Building understanding of how a company is organized, establishing historical context, team structure, and project goals
- Informing user interviews — gathering this background information before we speak with someone in person empowers us to ask better questions
How to do it:
- Gather a list of client stakeholders. Make sure this list represents the range of folks you’d like to speak to, not only leadership.
- Create a separate Google Doc for each person you plan to send a questionnaire to. Even if most (or all) of the questions are the same, it’s important that folks fill them out individually so that you’re able to compare answers and see where there’s consensus or disagreement. You may also want to tailor each questionnaire to the person you’re sending it to or ask certain folks different or more detailed questions. If you’re sending questionnaires to more senior-level people you may want to ask fewer questions and keep them higher-level, or more open-ended.
- Send starter questions along with a deadline: 1–2 weeks is usually reasonable.
- Read the responses and debrief with your team, highlighting similarities or contradictions. These will be good talking points for interviews or group discussions.
Guided Tour
When we’re transforming an existing product it’s important to get a clear picture of the current state of the product and the approach that was taken to get it here. While the factors that influenced the current app are not the same factors going forward, it’s still important to learn from the experiences of the first iteration and use those considerations to develop a new and improved version of the product.
This is good for:
- Understanding how an existing product currently functions
- Finding opportunities to make changes & innovate based on current pain points
- Uncover unique project or client dynamics and avoid mistakes made in the past
How to do it:
- To prepare, give the client’s technical team 2-3 days notice so that they can give it some thought beforehand. If the existing architecture is too large to map out within 10 minutes, ask that they come prepared with the high-level architecture mapped out in advance.
- Before jumping into the activity, describe the goal and what’s going to happen. Nobody likes to be surprised with this or to be put on the defensive if they receive pointed questions about the current state.
- Allow roughly 10 minutes to diagram the current ecosystem on a whiteboard. There should only be one person writing on the board at a given time.
- Allow the group to ask questions, annotating the diagram and taking notes in a separate document as needed. A running list of mentioned pain points, planned changes, and systems in flux should also be kept on the whiteboard as the conversation evolves.
Tips
- Existing architecture that is too large to be mapped out within 10 minutes will require multiple sessions of this activity each focusing on a different area.
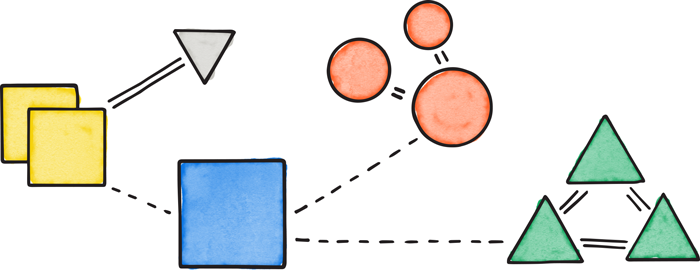
Data Mapping
As our team synthesizes all the gathered information, we start crafting a vision for the next iteration. Our goal is to establish a direction for our client based on the qualitative and quantitative research done thus far. As we re-focus their project and move in a new direction, not everything from the original build will be needed. The Data Mapping activity challenges the client to review their existing infrastructure and streamline it for the next iteration. This activity is perfect for a client who might need to reshape or simplify their data to fit the new app, rather than start from scratch.
This is good for:
- Finding opportunities to simplify the existing architecture
- Highlighting areas where the client will have to make choices that could impact workflow, user experience, or technology
How to do it:
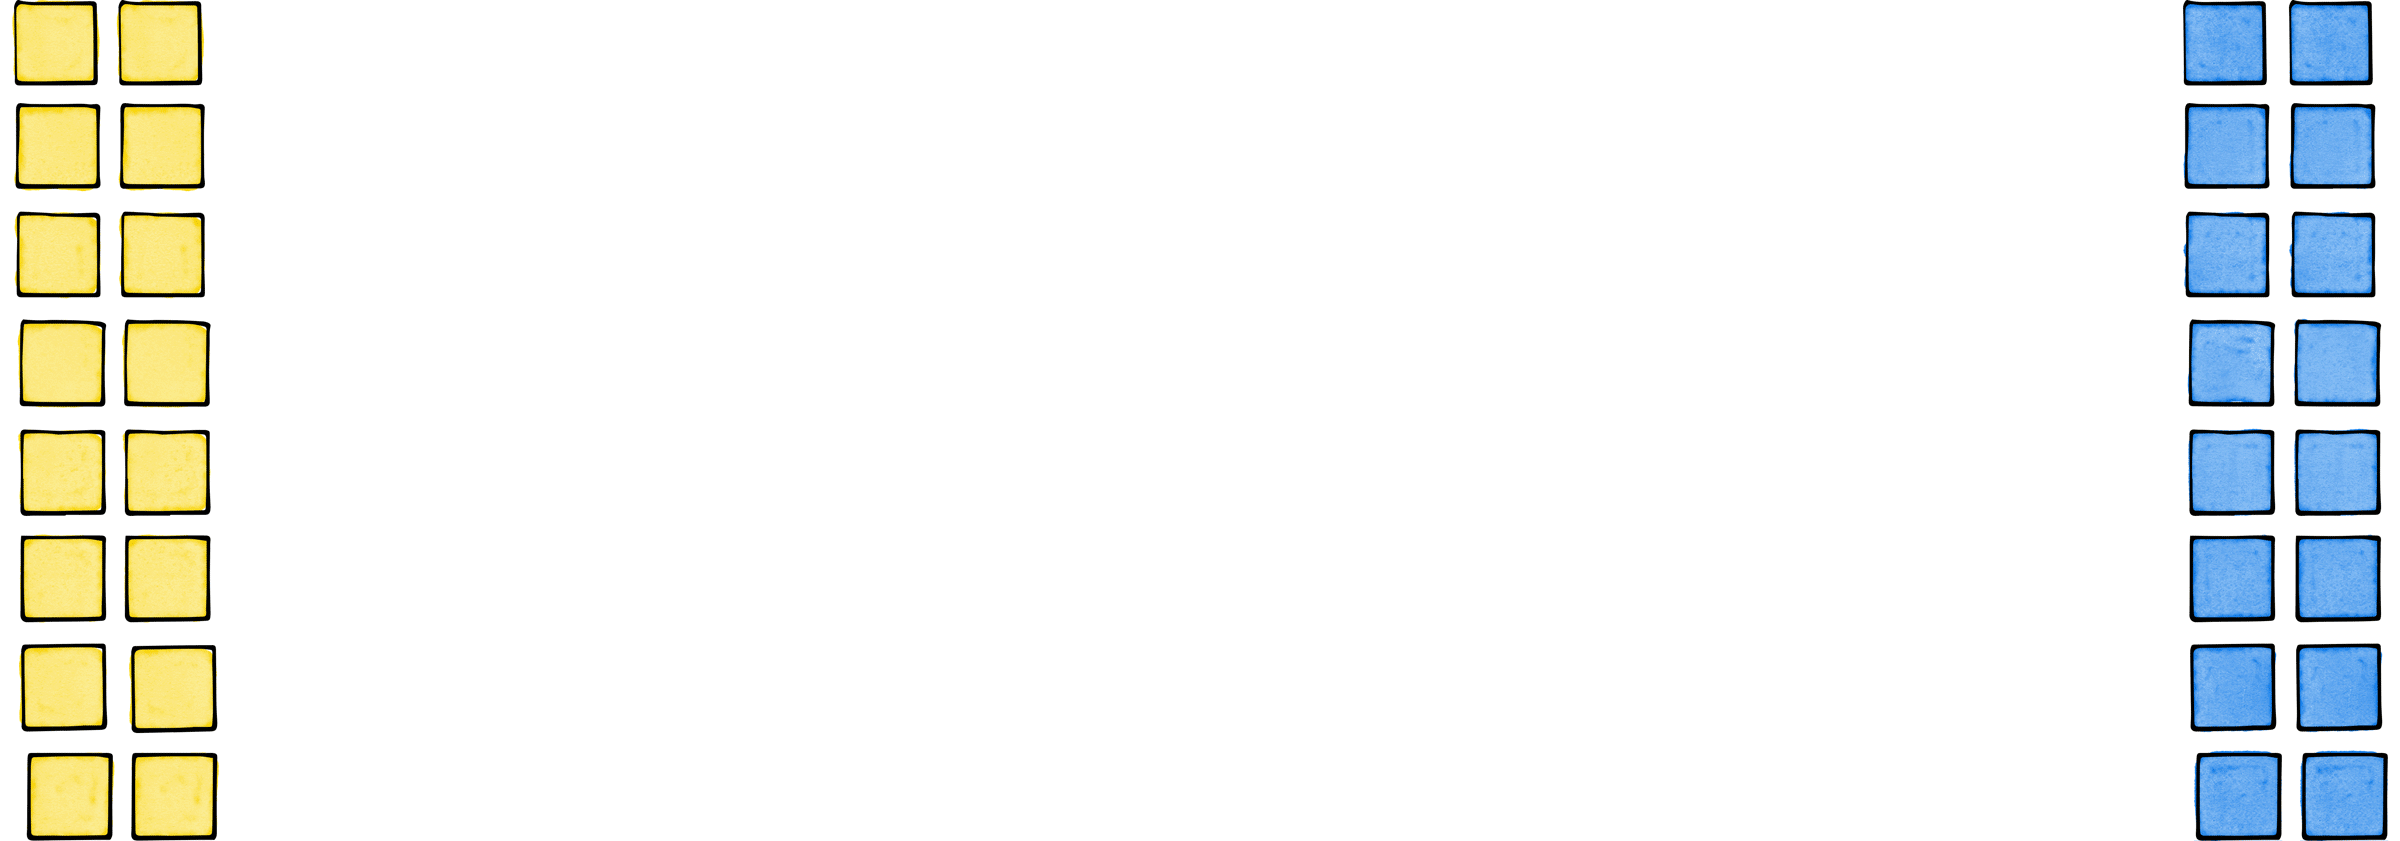
- To prep, identify key models in the client’s data. Each key model should be written on two different sticky notes (you’ll end up with duplicate stacks of sticky notes).
- Before jumping into the activity, describe the goal and what’s going to happen.
- Ask the client to take one set of the data model sticky notes and group them in a way that they think makes sense. Provide them with dry erase markers so that they can draw lines that show how each piece of data is currently connected. If the project maintainer thinks key models are missing, create new sticky notes with said models for both sets.
- On a different area of the whiteboard, ask the client to use the second set of sticky notes to build their data model structure again, this time leaving out any unneeded models.
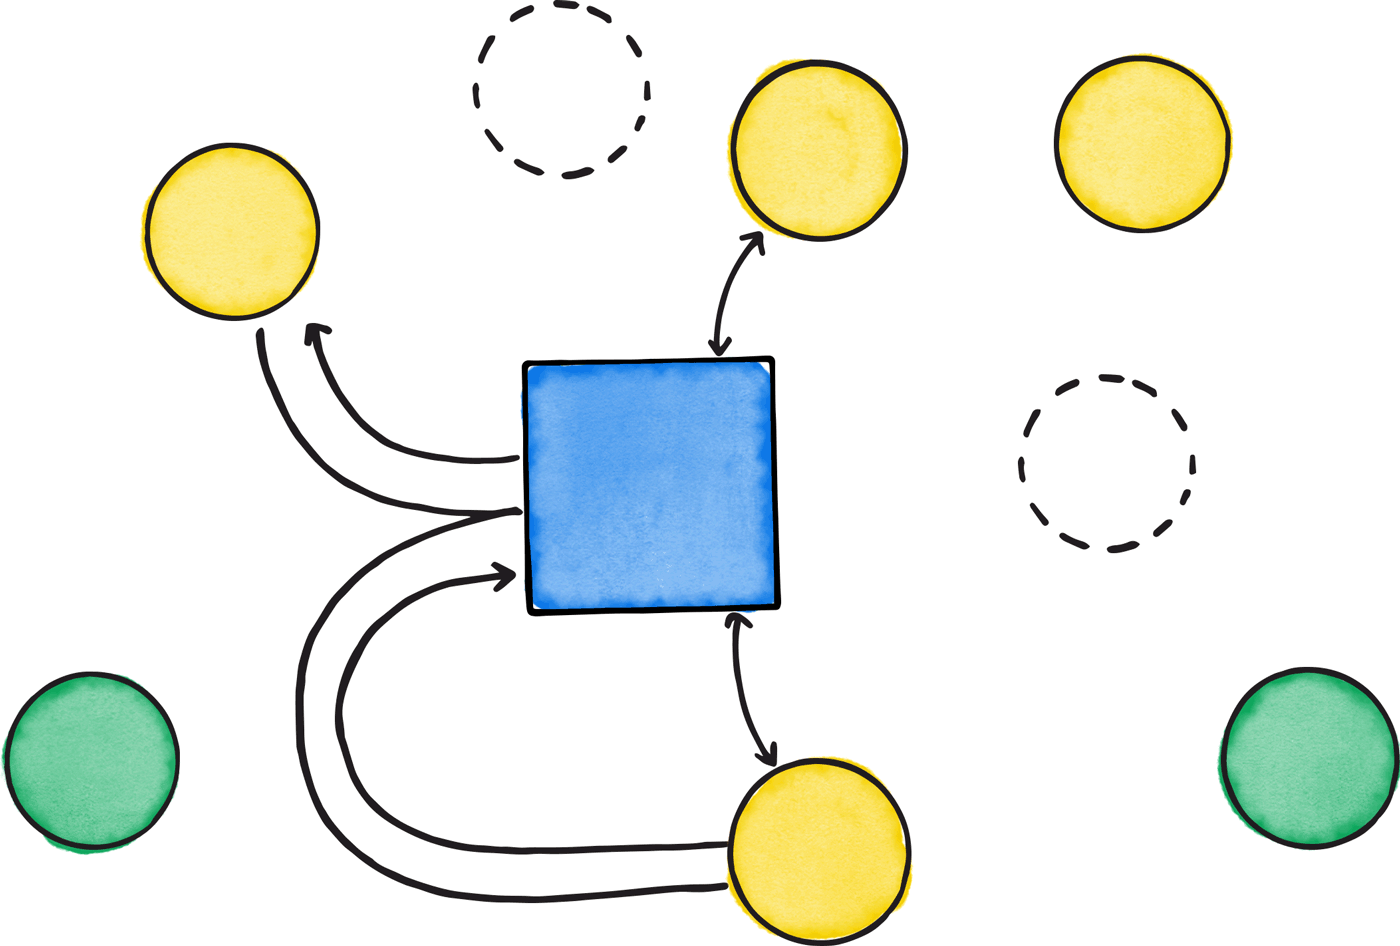
Service Flow
We’re not always involved in building every part of a client’s application; often we’re integrating with services that we will never touch. It’s important that all parties involved in integration have the same assumptions about the shape of the data that is needed and how it will be accessed. The Service Flow activity converts all the information we’ve uncovered during the previous exercises into a proposed architecture that our client can use to expose additional assumptions. Our end result provides everyone with a clear, digestible, single-source of truth that can be referenced throughout the project.
This is good for:
- Prompting collaboration when proposing a new architecture
How to do it:
- To prep, gather consensus within your internal team around the structure of the new architecture. Whiteboard the recommended application architecture for the new iteration.
- To get started with the activity, give your client some background on the work you did to prepare and walk through the proposed architecture.
- Give your client a marker and allow them to pose the questions and draw in how their own services might connect as well as add any missing pieces that haven’t yet been addressed.
- After the activity, create a digital rendition of the diagram using Sketch, Illustrator, draw.io, or any diagram creation software to solidify the approach.
Tips:
- Use color-coded markers to indicate who is responsible for each part of the service flow, or how certain parts of the architecture are grouped together.
Prioritization
There is never enough time to realize every idea that gets proposed during the strategy phase of the project, so prioritizing features and narrowing scope is crucial in ensuring the team focuses on what is essential. The Prioritization activity asks the client to prioritize all of the feature ideas that have been generated. This activity helps inform what we will spend our time on, or which parts of the build are better left to the client’s other technical resources.
This is good for:
- Getting on the same page about what we are building
How to do it:
- To prep, write down all proposed features on small sticky notes.
- Present the sticky notes to the client and allow them to create a list from highest to lowest priority. Provide blank sticky notes for additional features they might want to add, or for splitting up larger features into smaller ones.
- Facilitate a conversation about what may or may not make sense for the MVP and allow the client to reprioritize as they see fit.
- Draw a line on the whiteboard to signify the cutoff of what the team thinks that they’ll be able to accomplish given the project timeline. Remember: this is just a guess!
- After the activity, document the prioritized list of features for future reference.
Tips:
- Keep possible features as high-level as possible, and try to avoid solving the problem on the sticky note.
Design Mapping
There are times where we need to craft a new type of activity tailored to a specific project. Recently, we worked on a project that presented a feed of article teases in the form of “article cards.” To make it easier to navigate , we redesigned the article card from their original product to include callouts to primary references found in the article. Since the original card design didn’t have this notion of primary references, we needed to work with the client’s integration team to determine the appropriate logic for identifying which references would be called out. To solve the mismatch between existing data and new design, we created the Design Mapping activity.
This is good for:
- Getting on the same page about how client content will translate from the existing design to the new design.
- Identifying gaps in the design or data models.
How to do it:
- To prep, print out examples of the client’s current approach to solving a task as well as the design for the new approach.
- Put the before and after examples up on a whiteboard side by side with space between them.
- Have the client use that space to describe how the existing data can map to fit the new UI using a marker. If there isn’t a direct mapping, write down the transformations that will need to occur to make the design possible.
Tips:
- Keep an ear out for any limitations that might get encountered because of how their current data model works.
At Upstatement, we use these activities to make our work better and help clients solve complex issues. Just as important, it creates lots of in-person problem-solving time with our client partners. That’s really the best reason: collaboration. We work with smart people and want to make it easy for them to unlock their own creative ideas.
To that end, every workshop is different. We tailor the activities to each client and invent new ones depending on what we’re trying to accomplish. Think of the activities described here as starting points: base recipes that you can remix and use to make many different meals.
And if you use anything in your practice, let us know — we’d love to hear about your experience and apply any lessons to our own work!
Illustrations by Ali Aas